
Left- Handed Long Tail Cast On
The first hinder for many a knitter is to actually start. Many people actually know how to knit, once they get going because their mother or perhaps grandmother did the actual cast on for them. Hence my percieved need to provide a thorough, yet simple instruction on the most common cast on method: The Long Tail Cast On.
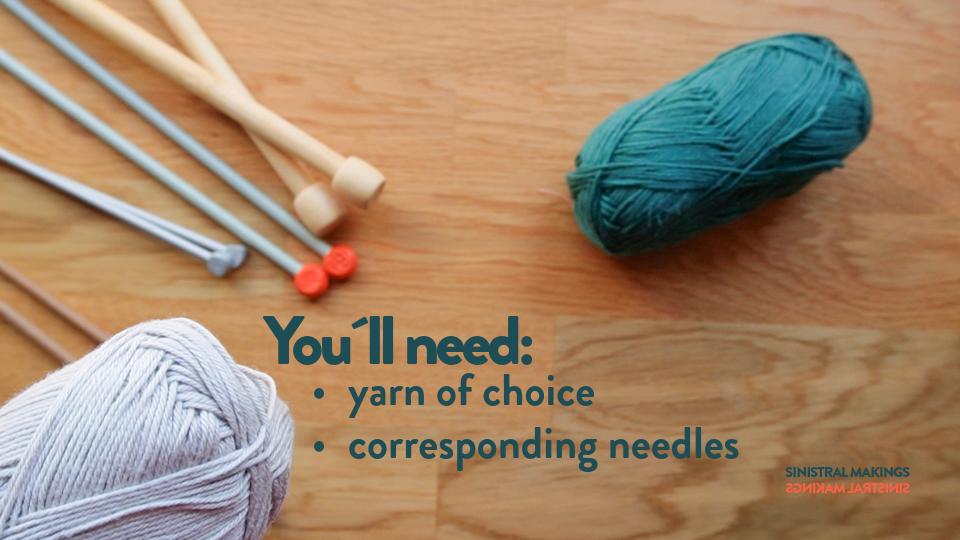
You will need yarn of choice, and a pair of corresponding needles. What I mean with corresponding needles, is to choose needles and yarns that match each other. Yarns are usually marked with a recommended needle size, so choose according to that.
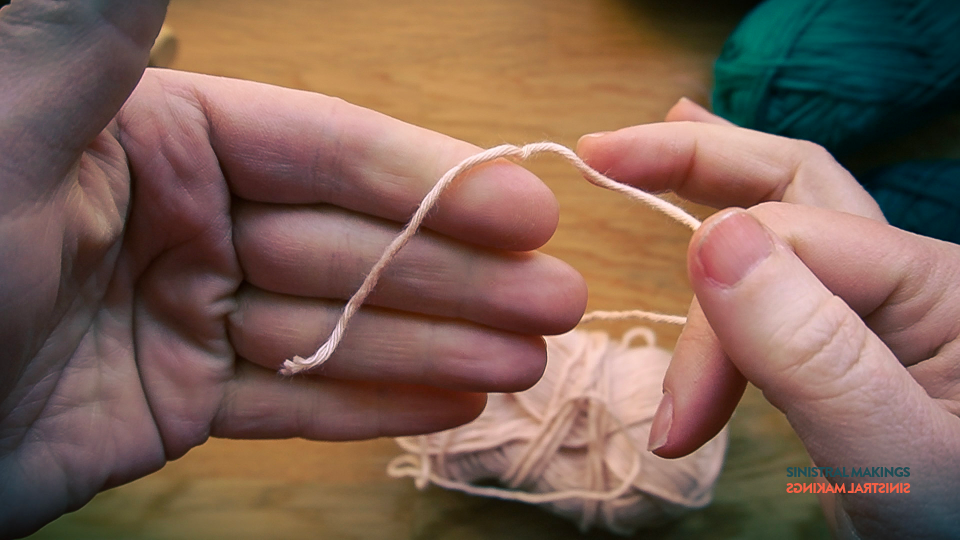
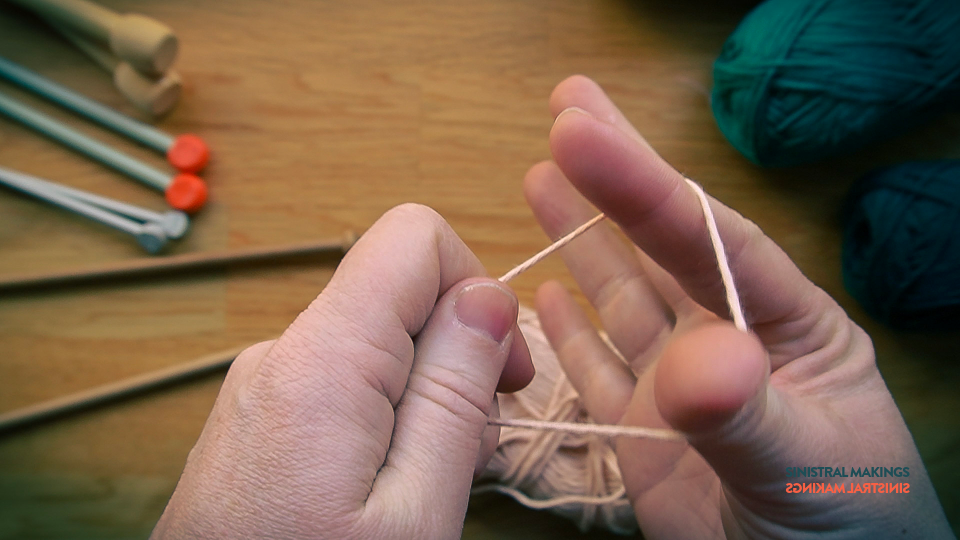
Pull out a length of yarn from your ball.
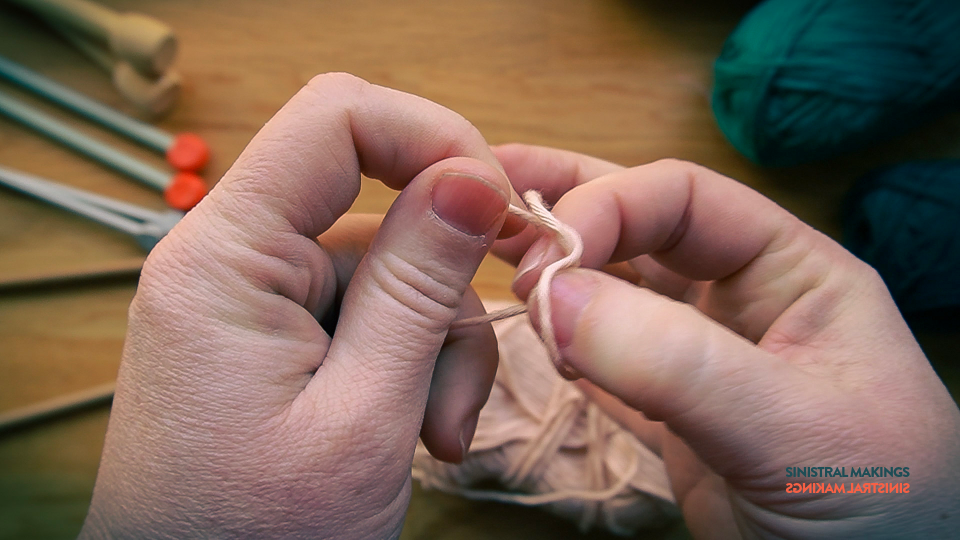
Pull the yarn tail over your right index finger, and hold both it and the yarn that is coming from your ball taught.

While still holding both yarn tail and yarn from ball with you left hand, insert your right thumb into the loop you just created, so that both thumb and index finger are inside your loop.
Pull taught with your left hand.
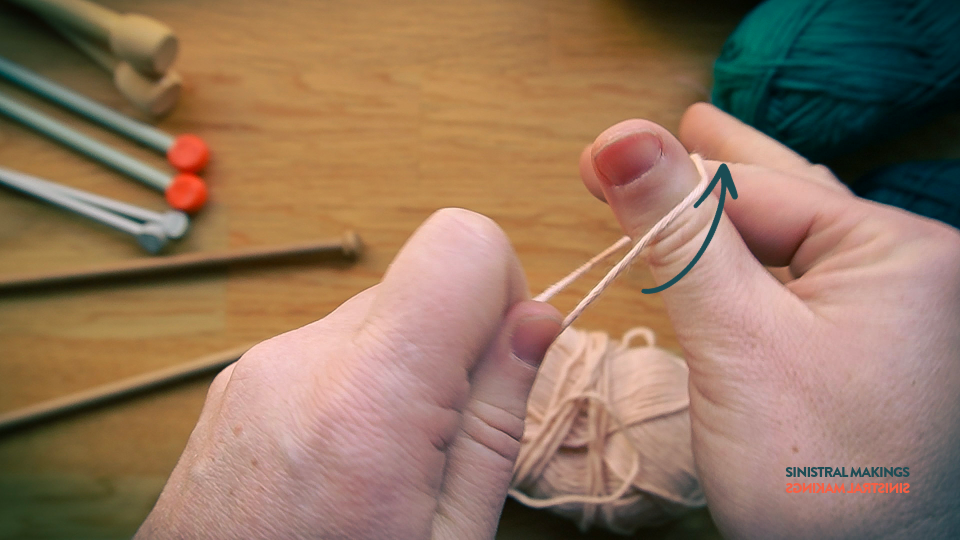
Twist your right thumb and index finger clockwise…

…to make the yarn from the ball cross over the yarn tail.
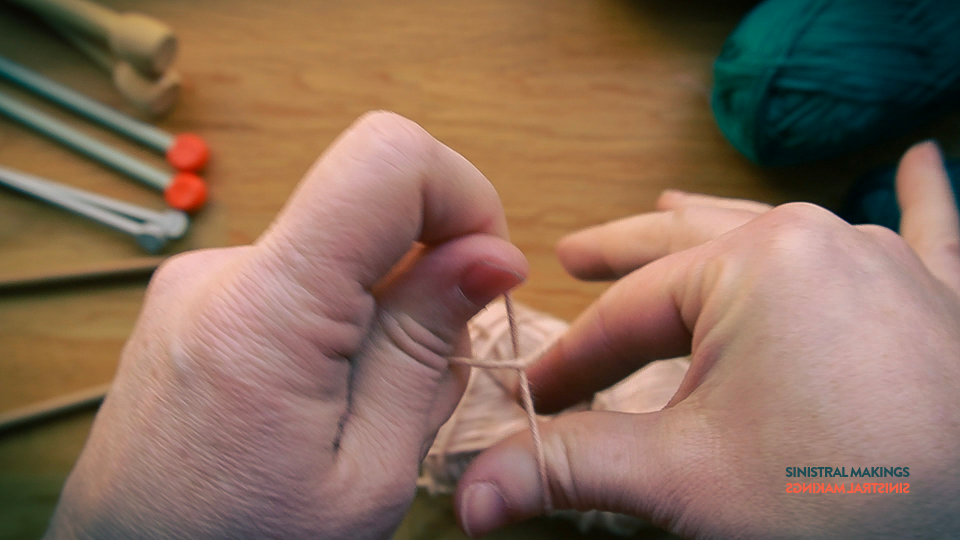
With right thumb and index finger, grab the front yarn…
…and pull through the loop.
Remember to hold on to both ends with your left hand.
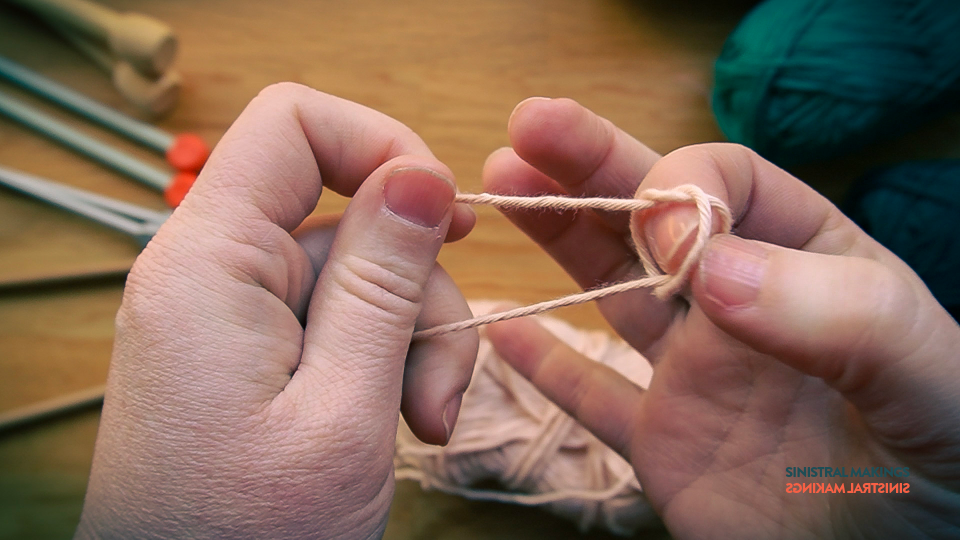
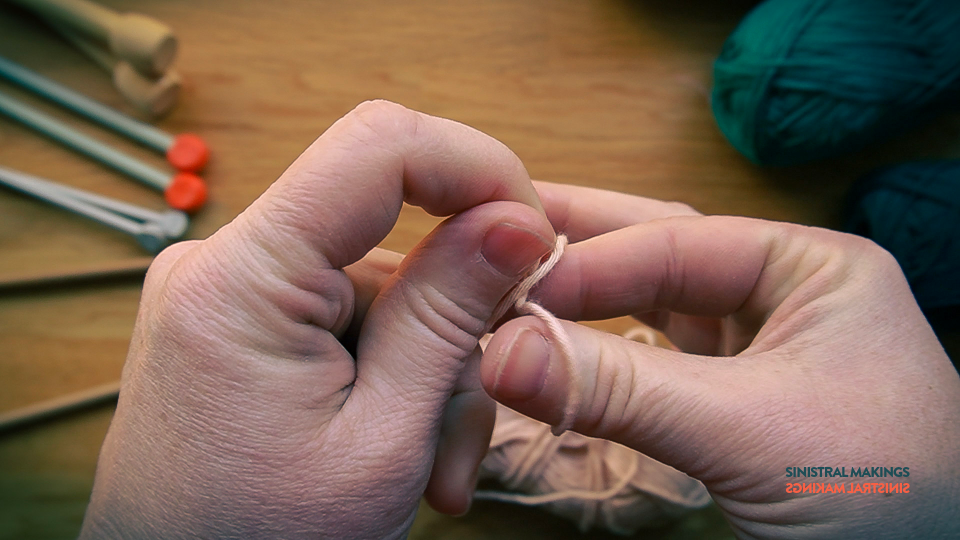
This forms a loop.
And that is your first stitch, right there!

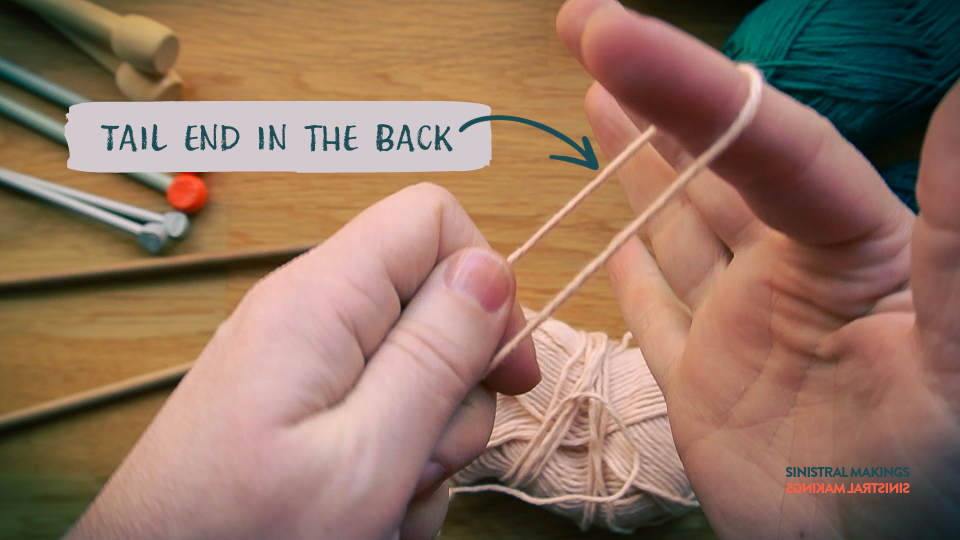
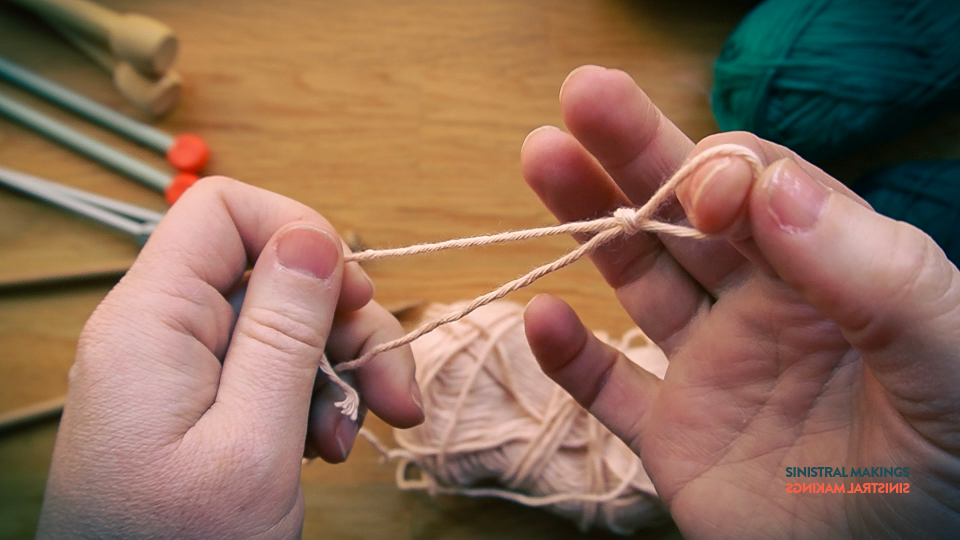
Keep your newly made stitch on your right hand index finger, with the short yarn tail in front, and with your left hand, grab a knitting needle.

Insert your needle into the stitch.
Pull taught.

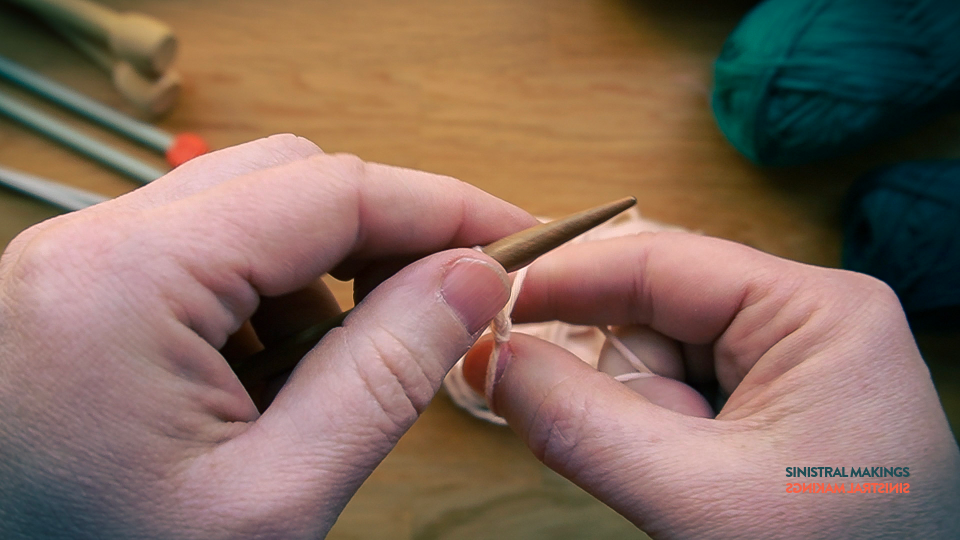
Still keeping the yarn tail in front, and the yarn attached to the ball in the back, keep your right index finger and your thumb parallell to each other, and such pulling out som yarn on both ends.

Twist your fingers clockwise, and start making your second stitch by inserting the left hand needle underneath the front yarn.
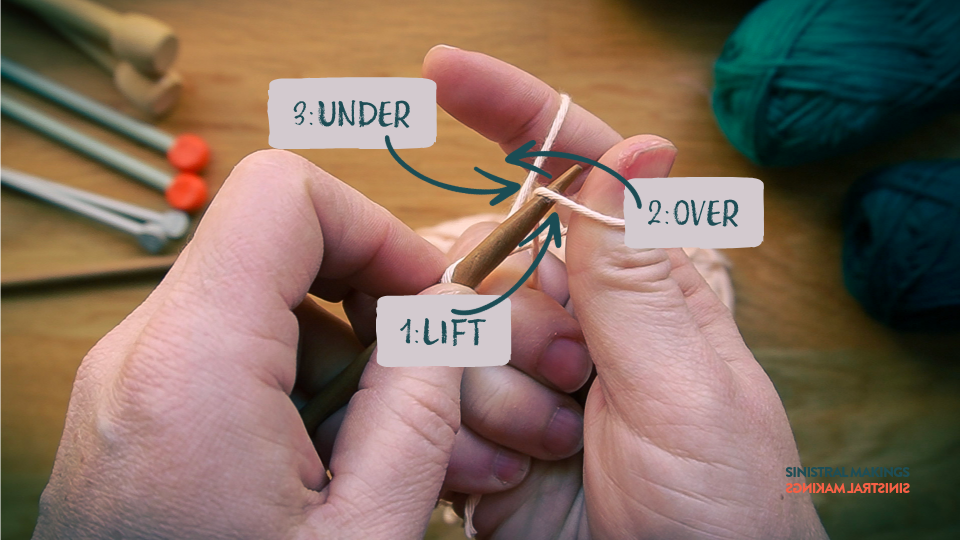
Lift the front yarn tail slightly with your needle, then pass over the back yarn, and from the back insert the needle under the back yarn.
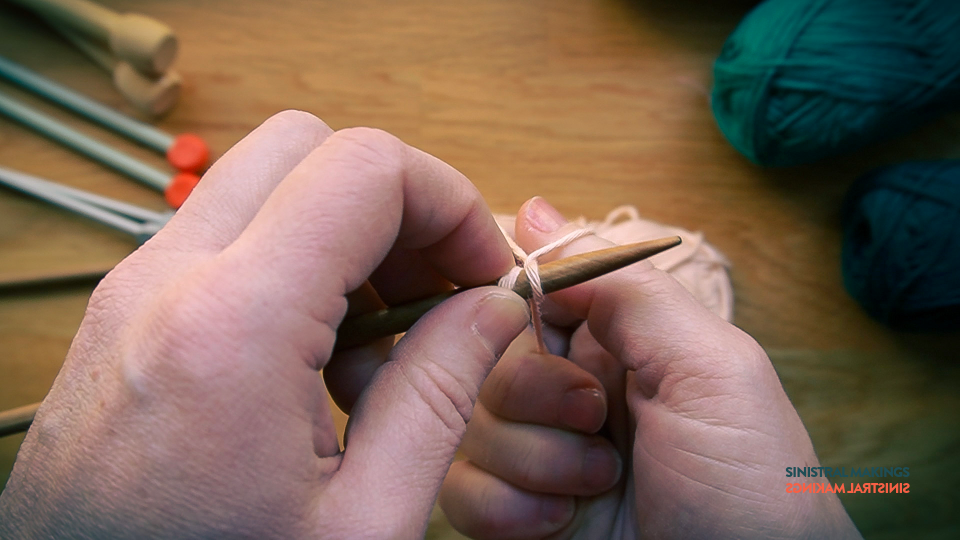
Pull through, forming a loop. Your thumb will still be in the loop at this point.

Remove your thumb, et voilá!…

…your second stitch is formed. Continue in the same manner until you have the amount of stitches you desire.
Tip no. 1: For keeping a steady pace in your cast on, this little rhyme might help you:
Under front, over back, under back, pull.

Tip no. 2: A good rule of thumb is that you need approximately 10 cm of yarn per 10 stitches + 10 cm extra. This varies depending on the thickness of yarn and needles; you need more yarn for larger stitches, and less so for smaller, but in general I find that this is a good rule to follow. Also, rather err on the long side, there is nothing more frustrating than, after casting on, say, 300 stitches, finding that you have too few for the 350 you need. That´s it – I hope you´ll get a hang of it, and see that casting on with the Long Tail Cast On is easier than you think.
Happy knitting!