
I am making Burda designs from 20 years ago – one month at a time.
I have a large pattern collection. Part of it is the complete issues of BurdaStyle Magazines from 2006 up until 2020. I have recently been excited about Threadloop´s search engine, and found that I would love to use more of the patterns I already own. That´s why I have a new idea for my making, just for fun: make one pattern each month from the corresponding magazine from 20 years ago. So today, April 2026, I ´ll choose from the April issue, next month I will choose a pattern from the May issue etc. For the record: 20 years ago, the BurdaStyle Magazine was called Burda World of Fashion, and are searchable as that on Threadloop. Also, for the record, the magazines have notoriously badly written instructions, and for our modern eyes, an extremely limited size range. Just putting that out there.
The overview
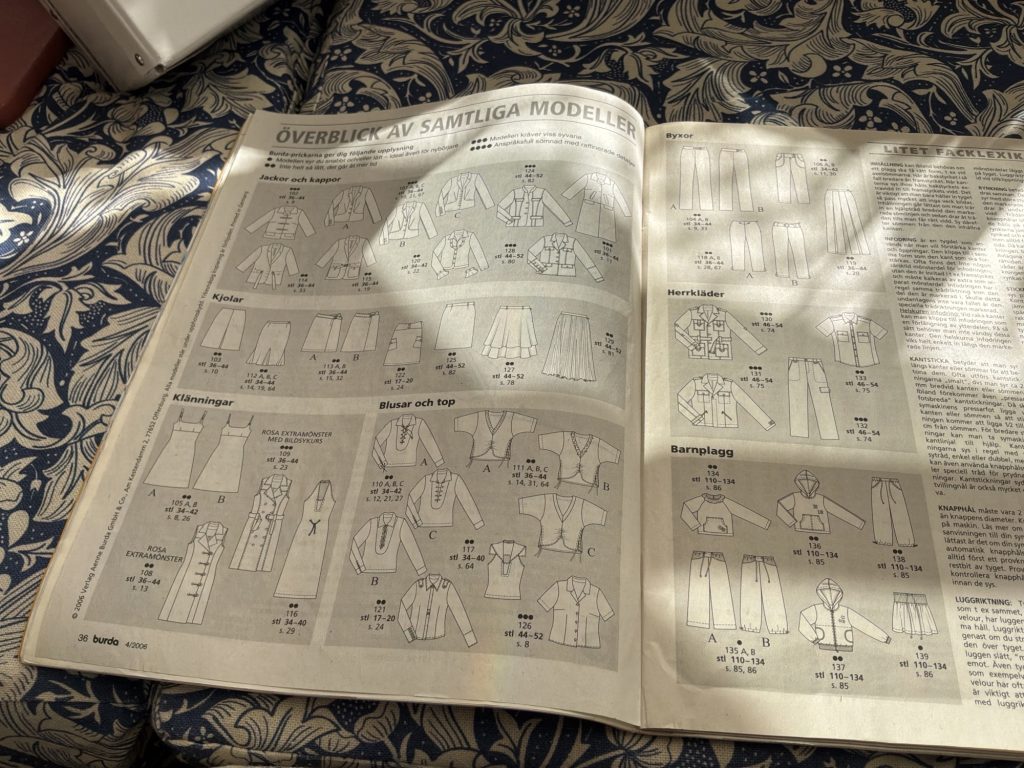
All of the Burda Magazines have an overview so you can see all the technical drawings at a glance, the first thing I observe in this April issue is the plethora of details; buttons and other closings, lace up, side lace, asymmetric designs and fancy pockets. So much to choose from!
There ´s always an abundance of dress patterns in Burda, but if I think about what I actually could need in my wardrobe, it would be semi-chic coats and jackets for spring. I have some utility jackets, and a couple of blazers, but I think a little jacket would be perfect, either that or a simple coat.
Another limitation I ´d like to set for myself is to only use stash fabric. We will see how long that goes if I keep this up for two decades(!), but for now, stash busting is a part of my framework so that I can make a dent in the old stash.
Despite all the disadvantages of Burda, just or unjust, there are several advantages with Burda Patterns in my mind, and they are the reasonsI keep coming back to them:
- The Block. Because I have been sewing with Burda Patterns for 20 years, I am very familiar with the block, and which alterations I need to make in order for it to fit me. There is no excess of ease as in the Big Four, or any rookie design mistakes as with some of the indie patterns that keep popping up.
- There are no seam allowance included. This means the pattern are more tailor friendly as you can adjust the SA to your hearts content.
- The fabric amounts stated are accurate. So many indie patterns include way too much fabric in their info boxes which always leaves me with scraps of fabric that I don´t necessarily know what to do with.
- The fabric amounts stated are reasonable. There are many patterns in the magazines, particularly from the earlier days that are cut so that you don´t have to use an intense amount of fabric. This is an advantage if you are the least bit concerned about the environment – less fabric is a smaller footprint.
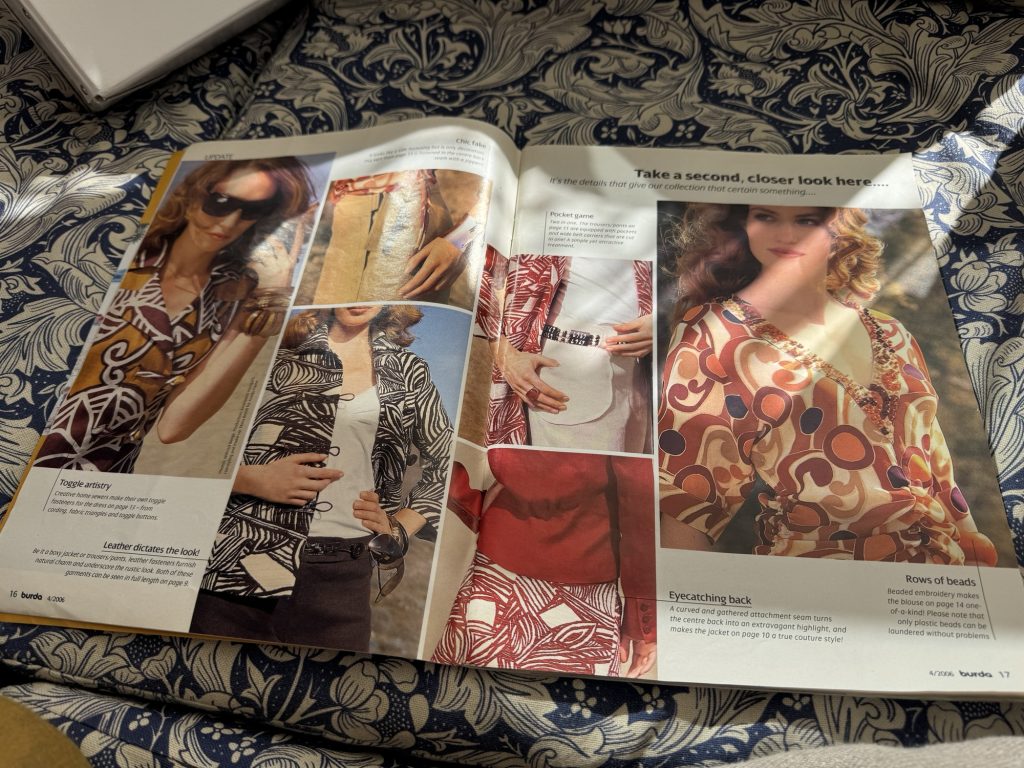
- Design details. The totality of my collection has such an insane amount of design details, it is hard to comprehend even for me. Just the few designs I have shown you from one issue might give you a clue to how it is. Again; particularly in the issues from the oughts. I can´t really tell you much about the later issues, but back then it seems like they didn´t shy away from more advanced techniques, and that the magazines were tailored (no pun intended) towards more seasoned sewists. So much of what is offered today is trying to reach the ever growing beginner market, which is great – I love that more and more people are sewing their own garments – but for me, the devil is in the details and Burda has a very adventurous catalogue.
My April project
Last May I took a trip to London, and, as a birthday gift from my parents, I got a gorgeous Japanese cotton fabric, that I have yet to use for anything. It is a pretty bold print, but would be excellent for a set, either coat and skirt/pants or jacket/dress. In this issue there are a few options for jackets, but I think I have settled for the either the coat or the jacket 101 or 102. For once I bought quite a lot of fabric, so I think I will have enough to make a set after all. I think I will make dress 105. Fun!
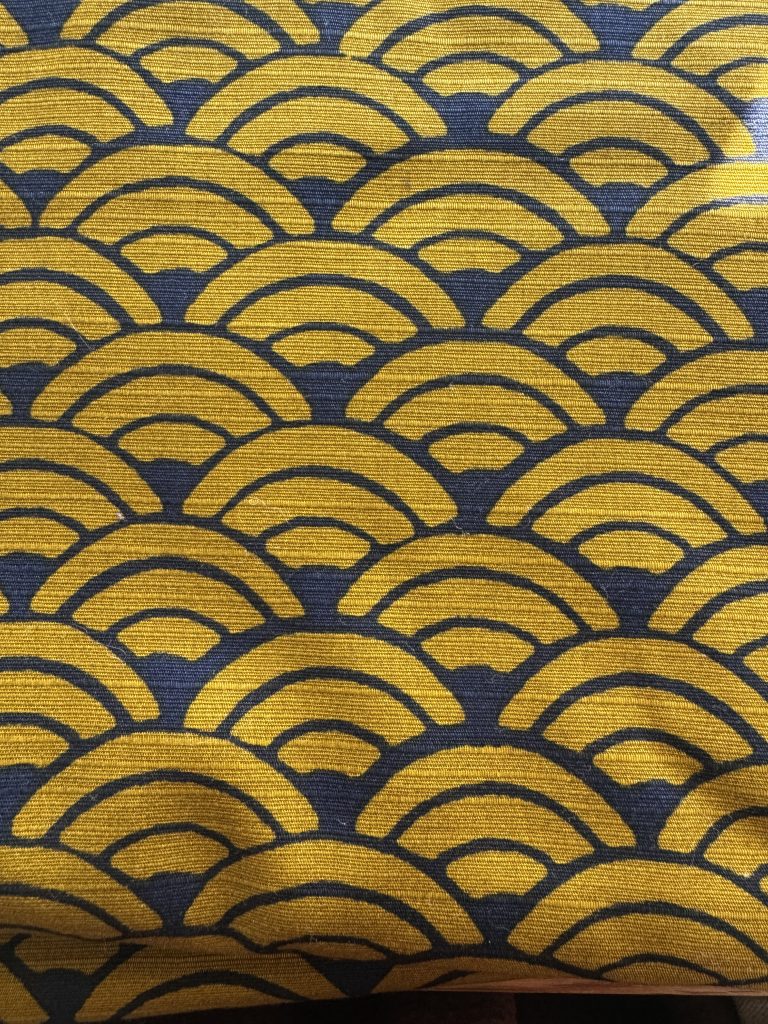
This is the fabric I have, it is a navy background with a chartreuse wave pattern. I have 3 meters of it and it is 110 cm wide. I bought my fabric at MacCulloch & Wallis in London. It is a medium weight, and would be perfect for a light structured jacket, and possibly a matching skirt or dress.
The patterns I am choosing between are both made up in bold prints, so it is easy to imagine it working well with this fabric.
First, I´ll have to roughly check if my fabric can provide me both a jacket and a dress. Follow along on my sewing over on Threadloop for the day to day progress. See you here with the finished objects.
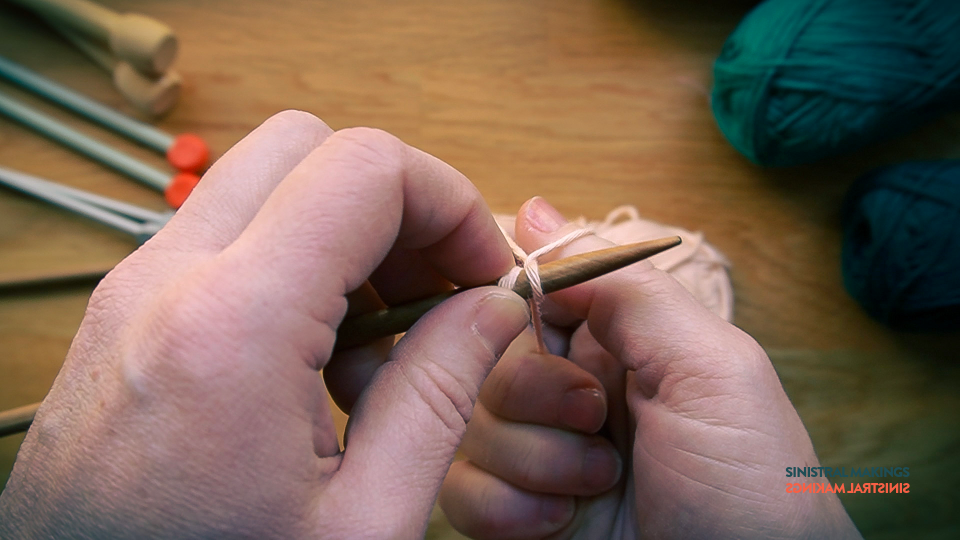
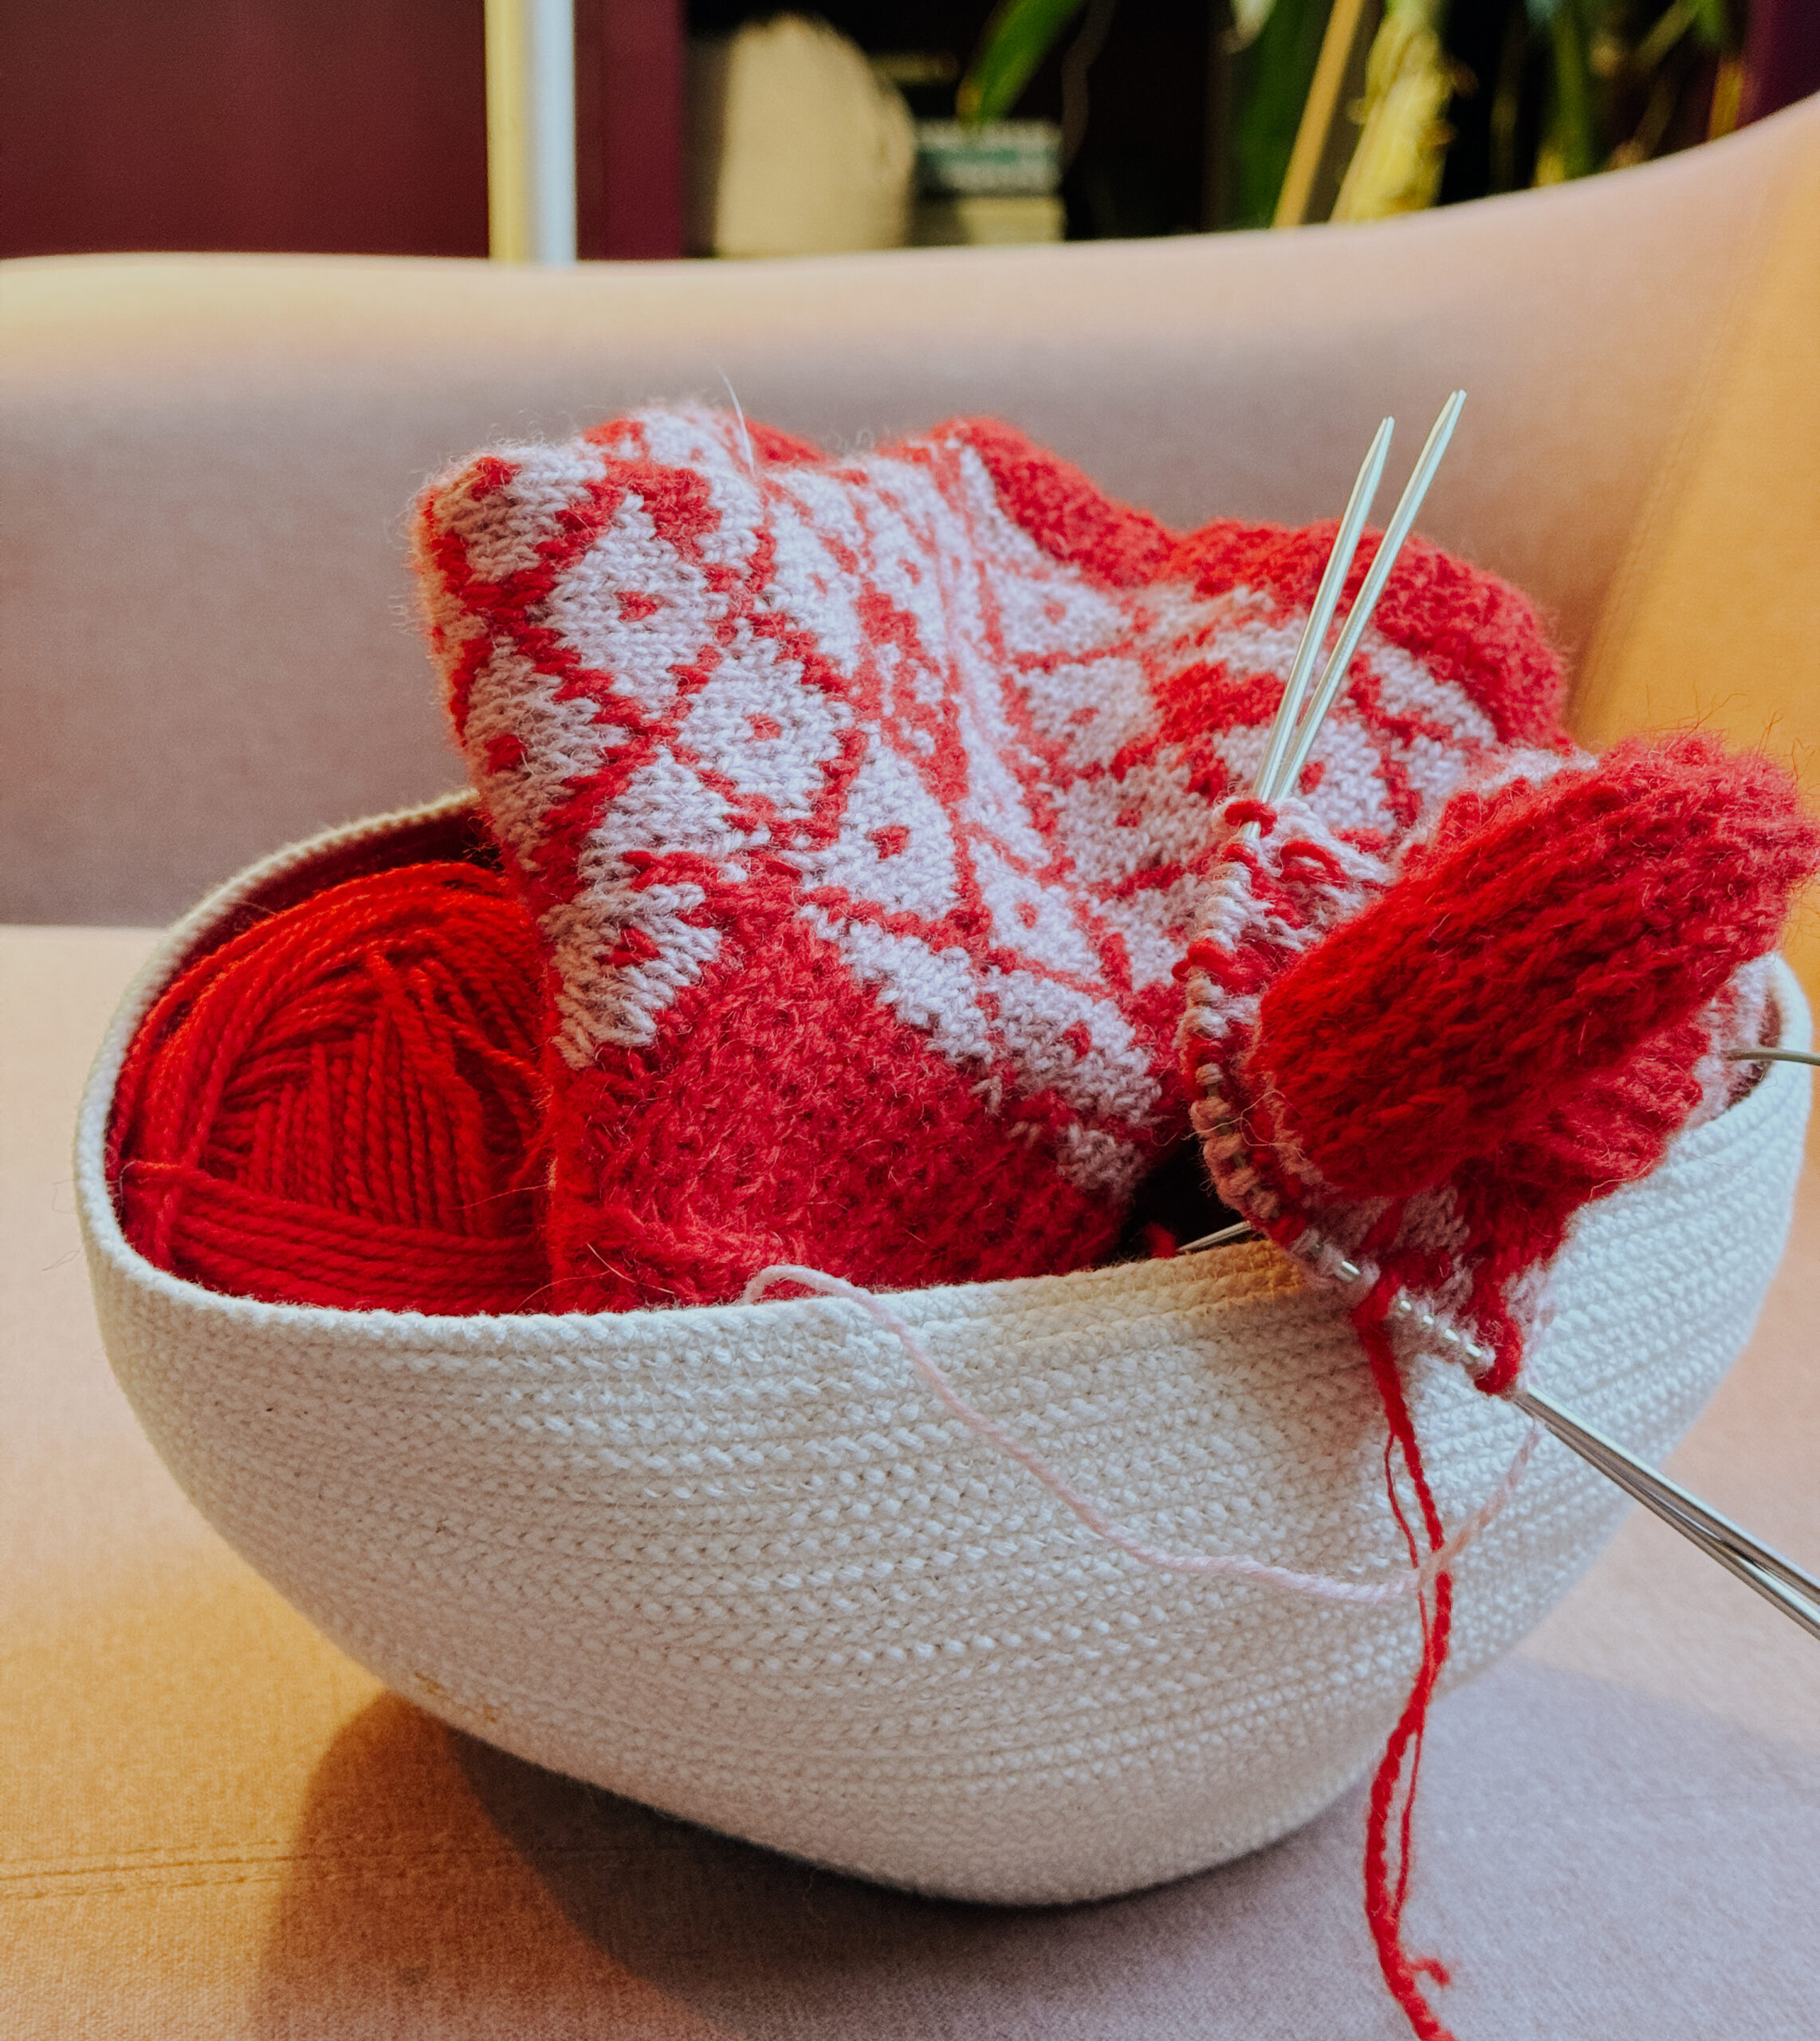
Left- Handed Long Tail Cast On
The first hinder for many a knitter is to actually start. Many people actually know how to knit, once they get going because their mother or perhaps grandmother did the actual cast on for them. Hence my percieved need to provide a thorough, yet simple instruction on the most common cast on method: The Long Tail Cast On.
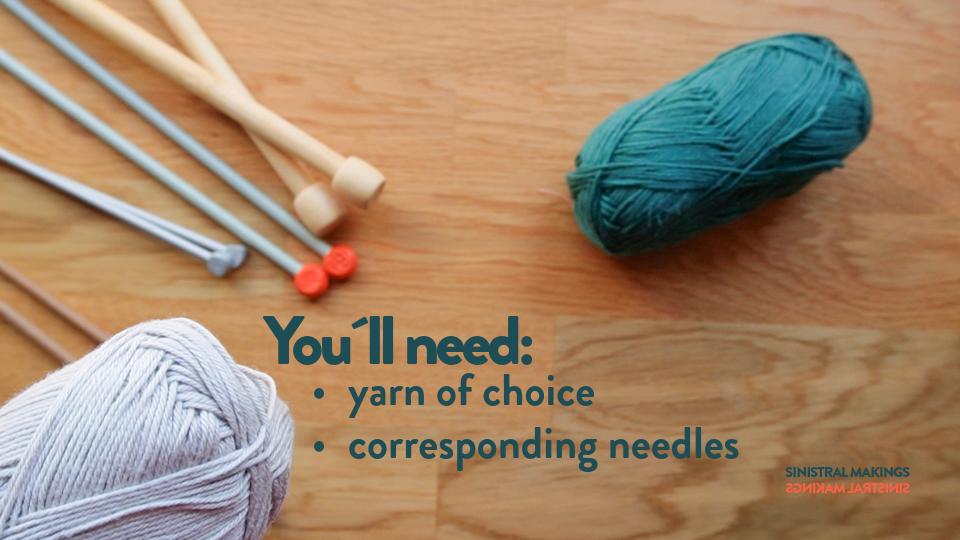
You will need yarn of choice, and a pair of corresponding needles. What I mean with corresponding needles, is to choose needles and yarns that match each other. Yarns are usually marked with a recommended needle size, so choose according to that.
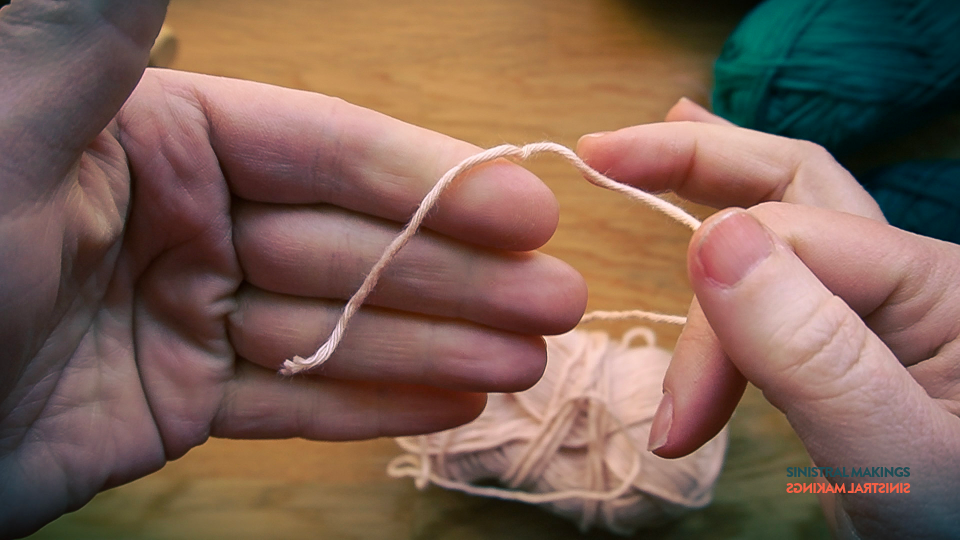
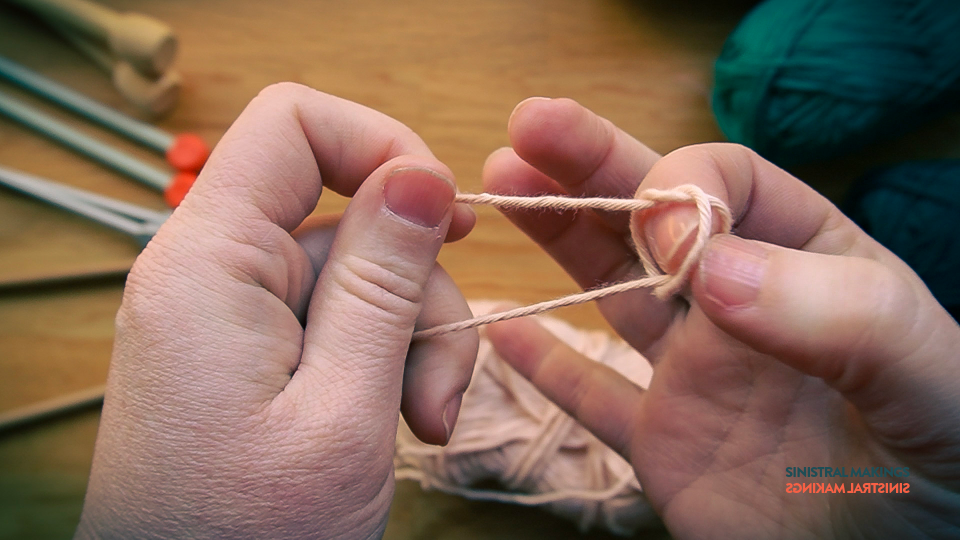
Pull out a length of yarn from your ball.
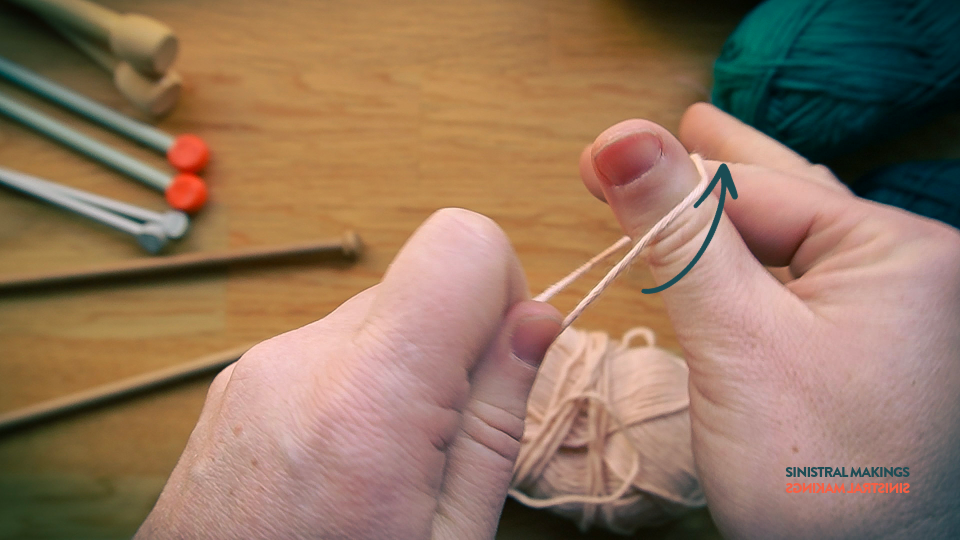
Pull the yarn tail over your right index finger, and hold both it and the yarn that is coming from your ball taught.

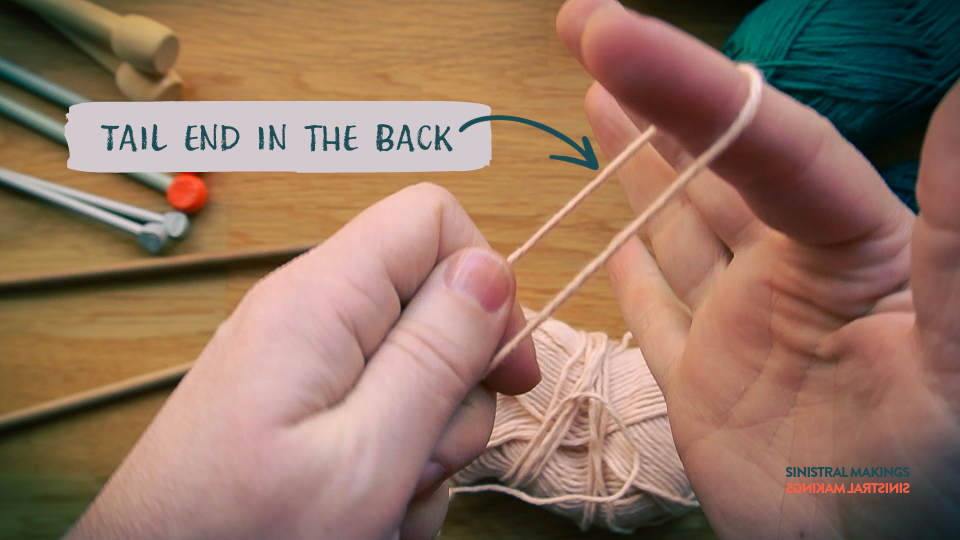
While still holding both yarn tail and yarn from ball with you left hand, insert your right thumb into the loop you just created, so that both thumb and index finger are inside your loop.
Pull taught with your left hand.
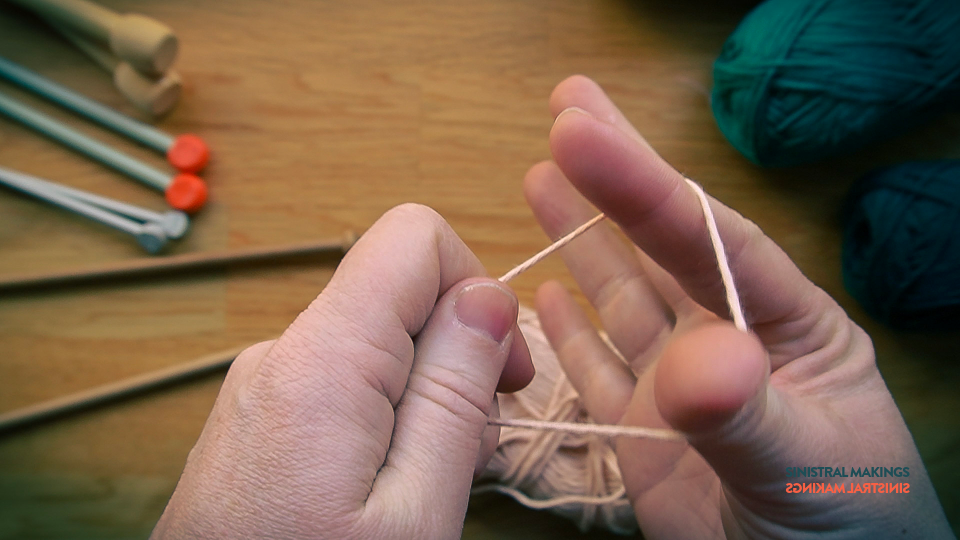
Twist your right thumb and index finger clockwise…

…to make the yarn from the ball cross over the yarn tail.
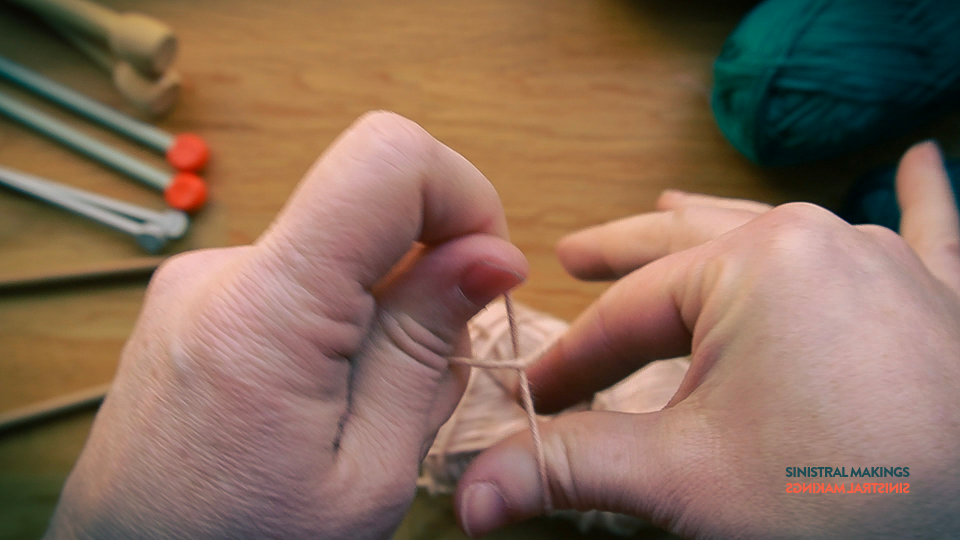
With right thumb and index finger, grab the front yarn…
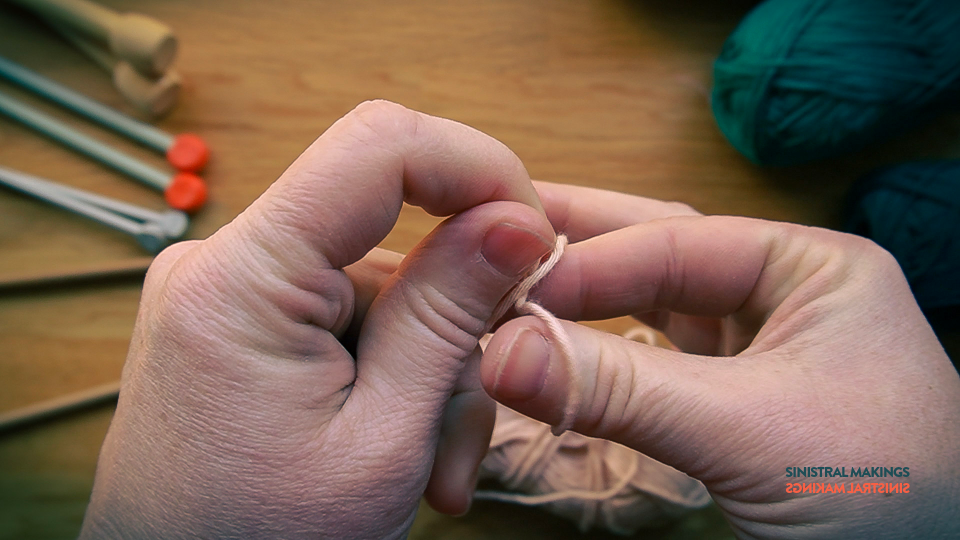
…and pull through the loop.
Remember to hold on to both ends with your left hand.
This forms a loop.
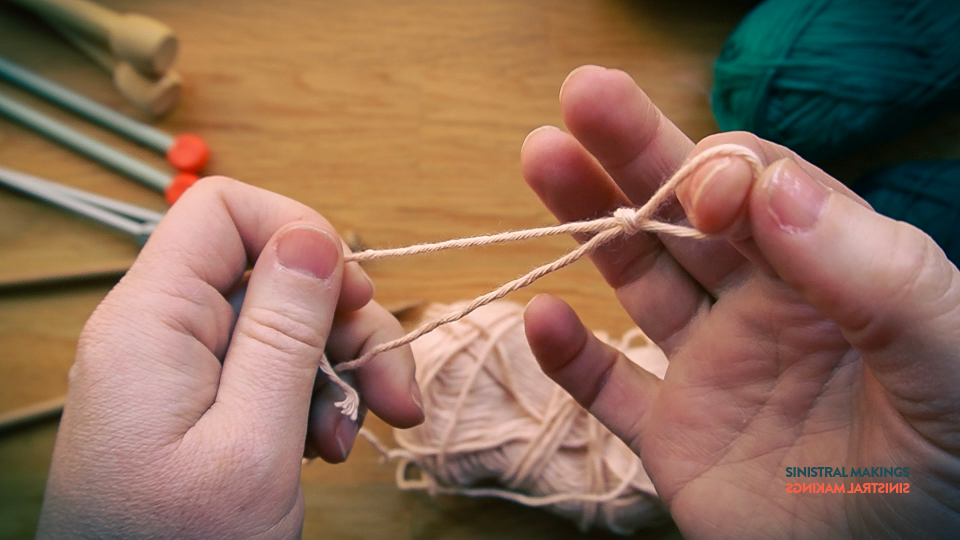
And that is your first stitch, right there!

Keep your newly made stitch on your right hand index finger, with the short yarn tail in front, and with your left hand, grab a knitting needle.

Insert your needle into the stitch.
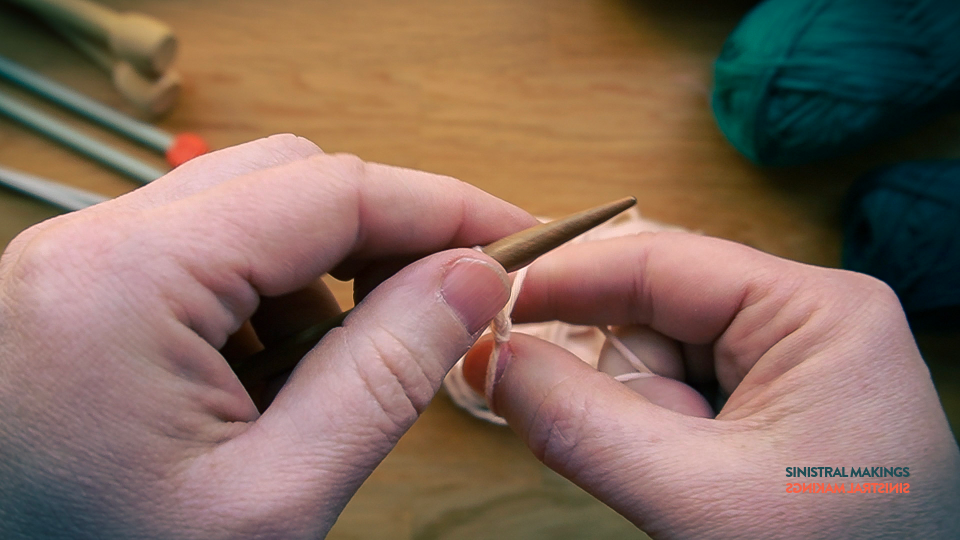
Pull taught.

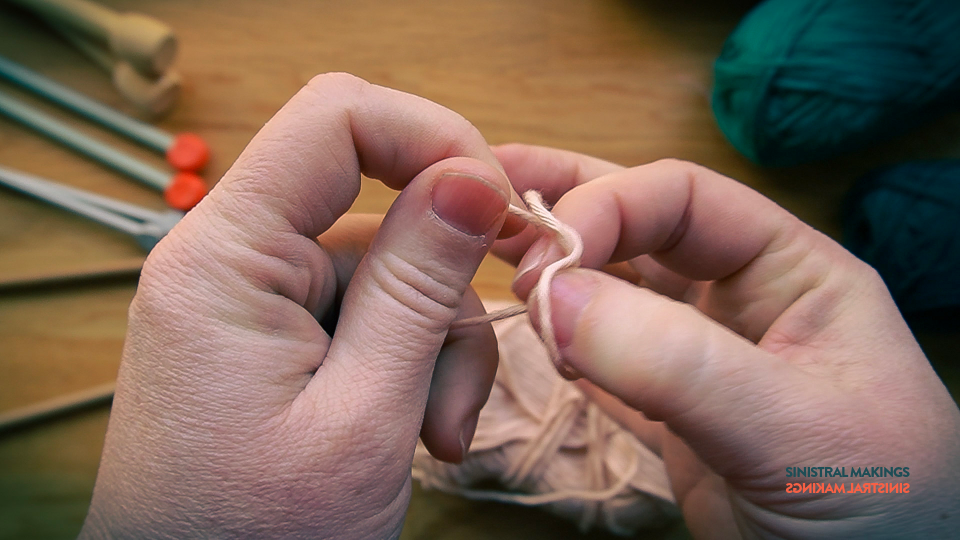
Still keeping the yarn tail in front, and the yarn attached to the ball in the back, keep your right index finger and your thumb parallell to each other, and such pulling out som yarn on both ends.

Twist your fingers clockwise, and start making your second stitch by inserting the left hand needle underneath the front yarn.
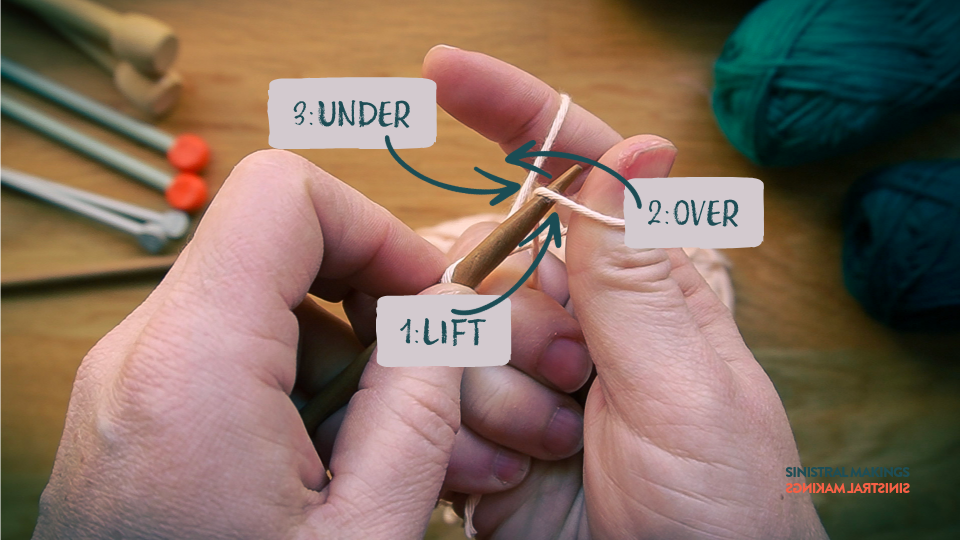
Lift the front yarn tail slightly with your needle, then pass over the back yarn, and from the back insert the needle under the back yarn.
Pull through, forming a loop. Your thumb will still be in the loop at this point.

Remove your thumb, et voilá!…

…your second stitch is formed. Continue in the same manner until you have the amount of stitches you desire.
Tip no. 1: For keeping a steady pace in your cast on, this little rhyme might help you:
Under front, over back, under back, pull.

Tip no. 2: A good rule of thumb is that you need approximately 10 cm of yarn per 10 stitches + 10 cm extra. This varies depending on the thickness of yarn and needles; you need more yarn for larger stitches, and less so for smaller, but in general I find that this is a good rule to follow. Also, rather err on the long side, there is nothing more frustrating than, after casting on, say, 300 stitches, finding that you have too few for the 350 you need. That´s it – I hope you´ll get a hang of it, and see that casting on with the Long Tail Cast On is easier than you think.
Happy knitting!
Springspiration 2026
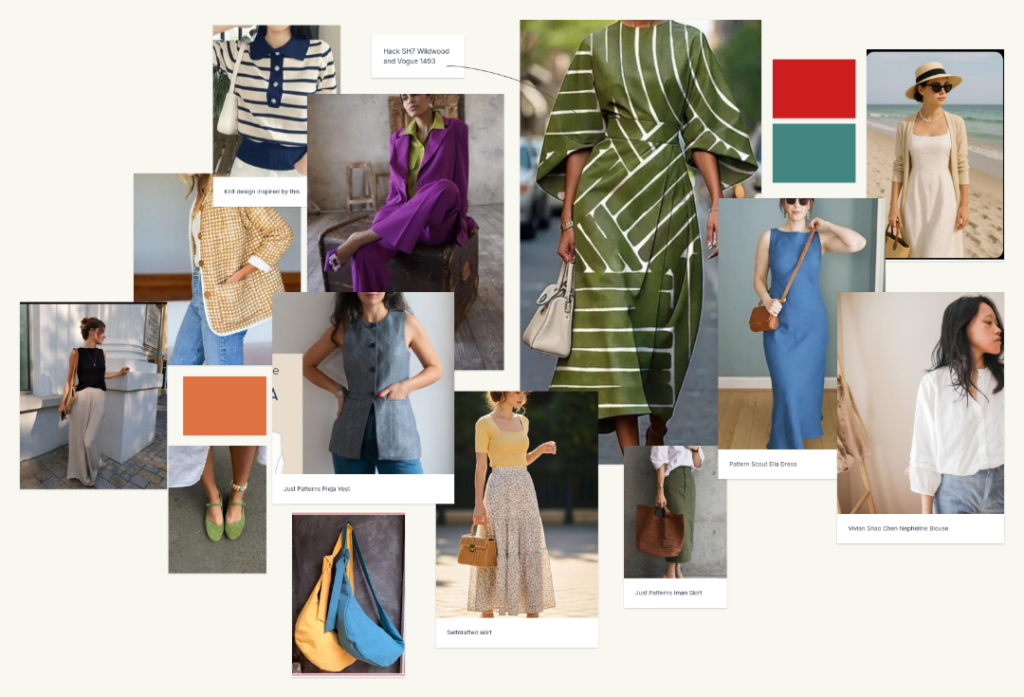
Spring is in the air, and the first thing to do then is to gather my supplies and inspiration board. What do I want to make? Do I have some definite needs? Or are they more wants? When making all of my wardrobe myself, these are questions that are extra valuable, so I don´t spend a lot of time making stuff I don´t actually see a clear use for.
I have an extensive wardrobe after making my own clothes for 20+ years, so finding the projects to make this season will be influenced by what I already own. I would love to make a few pieces though, so lets see what they are:
- A knit polo shirt. In fact I am about to publish my first knitting designs, and this idea of polo shirts in a linen/cotton blend might be in the pipeline – look for test knitting possibilites!
- A deep purple/aubergine linen oversized suit. I have the fabric, it´s been in my stash for years, it´s just to go ahead and make it. Tailoring is a skill I would love to practice on so I am looking forward to this.
- A structured wrap dress – I´m thinking a combo of Sew House 7 Westwood and Vogue 1493? TBD on this one.
- Just a raffia hat. Maybe something reminiscent of the 1920s.
- A quilted jacket. There are heaps of patterns out there – let me know if you have a favorite to recommend!
- The Just Pattern Freja Vest in sand washed silk. I have the fabric and have muslined it. Just need to make it, you know.
- The Ella Dress by Pattern Scout. Such an effortlessly chic pattern. I haven´t decided on the fabric yet, but will find something in stash I hope.
- A pair of flowy beige wide legged pants. The Icaria Pants by Itch to Stitch comes to mind, but here I might have to purchase fabric. Maybe a crepe of some sorts. Delicious.
- Green ballerina flats or Mary Janes. I have the perfect leather laying around. Would love to make it into a pair of spring shoes.
- The Bestie Bag. Because why not?
- A tired flowy skirt. I have a tutorial coming up for this, so stay tuned for that.
- Just Patterns Iman Skirt. I have made one, and have one WIP laying around. Just need to finish it.
- The Nepheline Blouse by Vivian Shao Chen. I have some pieces of lace I´d love to incorporate into a cotton blouse. Might also have to buy fabric for this one.
There you have it – some of the things I am inspired to make this spring, I can´t wait to start. What are you making these days?
The 100 Day Project
I have been a distant admirer of the 100 Day Project for years, but never had the inclination to participate. This year, however, I am in! So what is it, you may ask? Well to quote the website of the project:
” #The100DayProject is a free, global art project that takes place online. Every year, thousands of people all around the world commit to 100 days of creating. The idea is simple: choose a creative project, do it every single day for 100 days, and share your process on your social accounts using the hashtag #The100DayProject.”
I have been a maker forever, but the last few years I´ve also had the desire to create my own designs, particularily in knitting and sewing, but also in other crafts that strikes my fancy.
The 100 Day Project seems like the perfect opportunity for me to make a concious effort to really delve into designing, not just thinking about it.
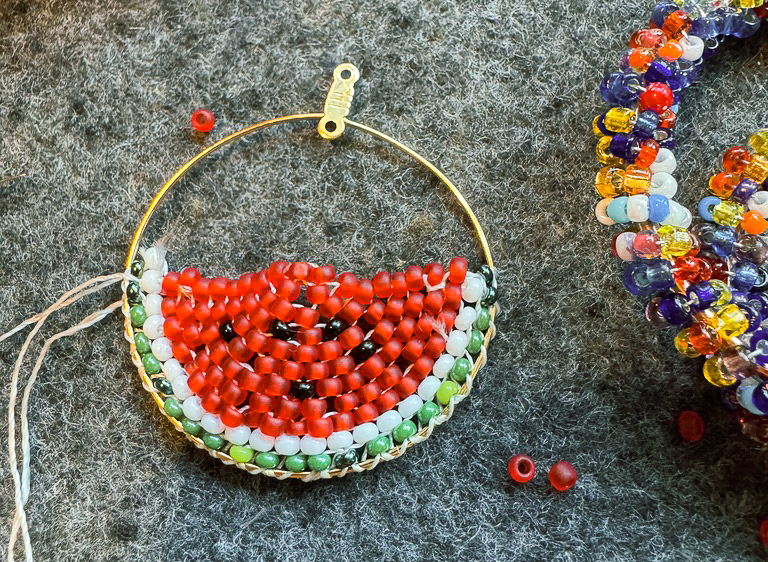
I aim at 5-10 minutes a day, more if I have the time, and it can be designing in all branches of my crafty sphere; sewing, bag making, leatherwork, beadwork, embroidery, knitting, crochet – you name it.
The ideal is that I will be creating things and designing stuff based on my own fantasy and creativity, not based off of a published pattern.
I want to up my drafting skills, my knitwear design skills, my drawing skills and possibly also dabble with CLO 3D and similar software.
All the things I design will necessarily not be fully produced finished objects in the end, as it is consistancy in the design process that is my aim.
So, how about you? Are you joining in on the 100 Day Project this time around? There´s always possible to start whenever of course, but there is a collective starting date Feb the 23rd if you want to join in together with everyone else.
Let´s do the thing and have some fun!
Welcome to the Sinistral Makings
Once upon a time in a country far up north lived a maker.
The country was what is known as a social democracy, and was not yet been completely dismantled by oligarks like some of its allies had been.
The maker had for year and years – no decades – been making her little heart out. She had been sewing, knitting and crocheting her entire wardrobe.
Now she sat contemplating her life choices as wars raged across the planet and climate changes threatened us all.

What could she do? Where could she turn to make sense of the world? How could she help?
Well, what about creating a safe and wonderous space for likeminded makers?
A welcoming world of consious making, contemplations on sustainability, just pure escapism, and hopefully entertainment about all the crafty endavours you could imagine?
A place you could be educated and entertained, and where you could escape into a world where we together can focus on things like craftmanship, color, design and arts.
This is it. Welcome to Sinistral Makings.